VisualStudio 2022 设计 WinForm 高DPI兼容程序
|
admin 2024年3月9日 15:36
本文热度 2303
2024年3月9日 15:36
本文热度 2303
|
本文主要解决两个问题
建立测试程序
1、新建.NET Windows窗体应用 (Winform)工程
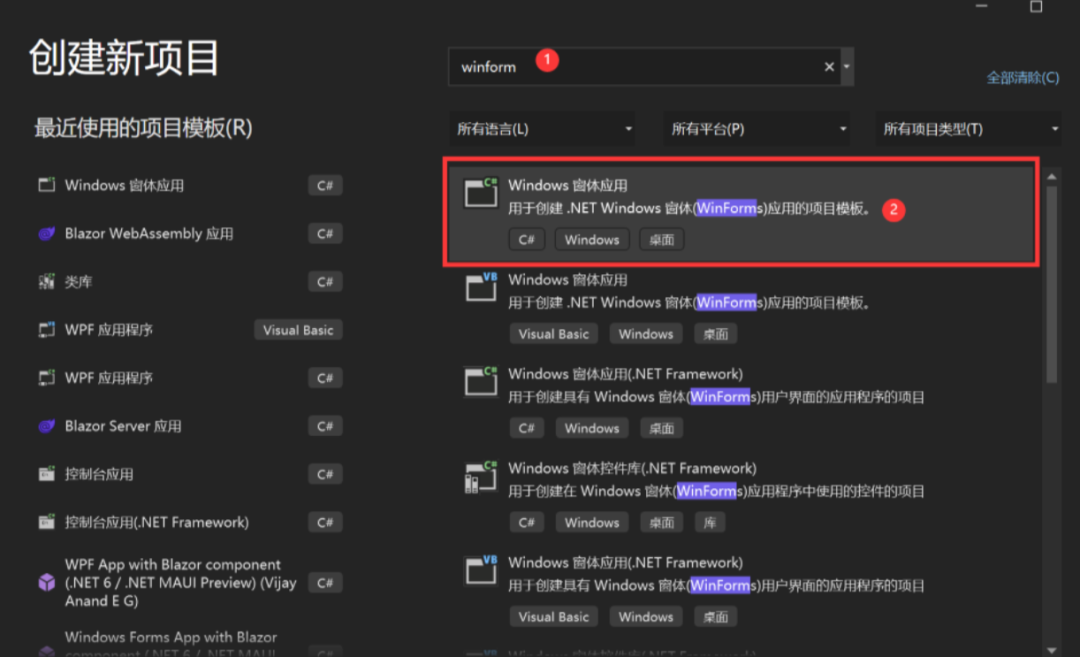
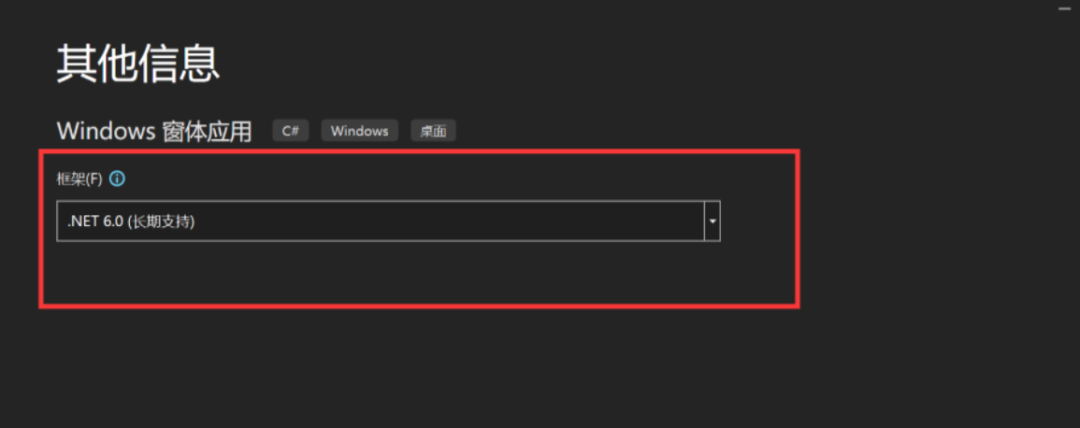
2、选择.NET 6.0
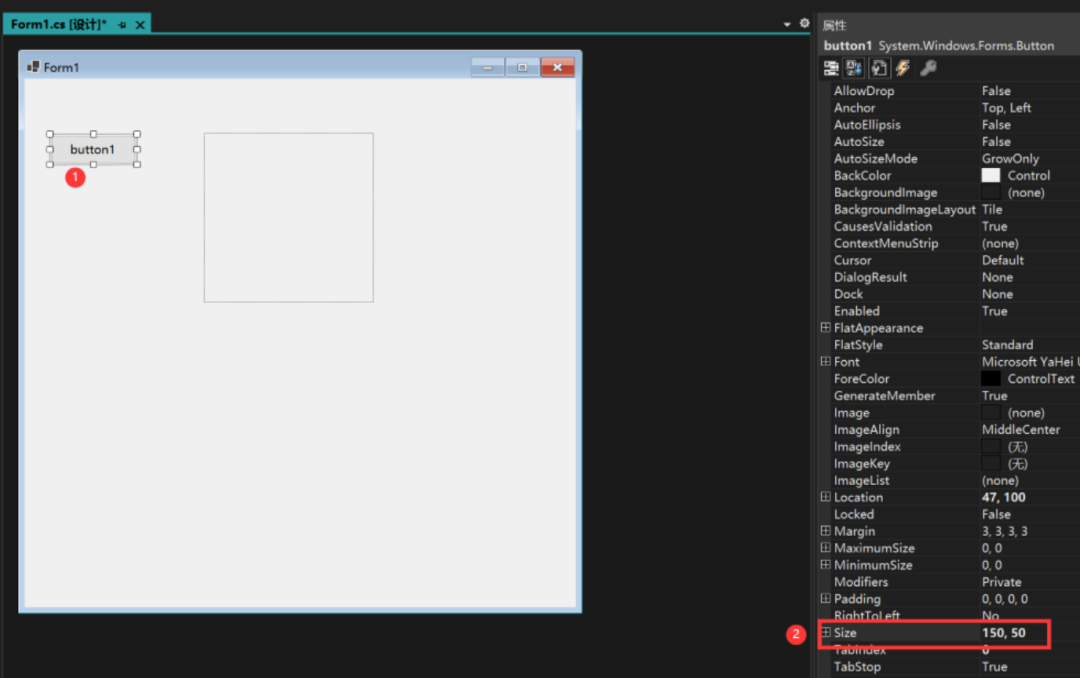
3、将窗体尺寸定为 1000 x 1000 , 用于后面检测缩放是否正确

4、添加一个按钮 , 尺寸定为 150 x 50
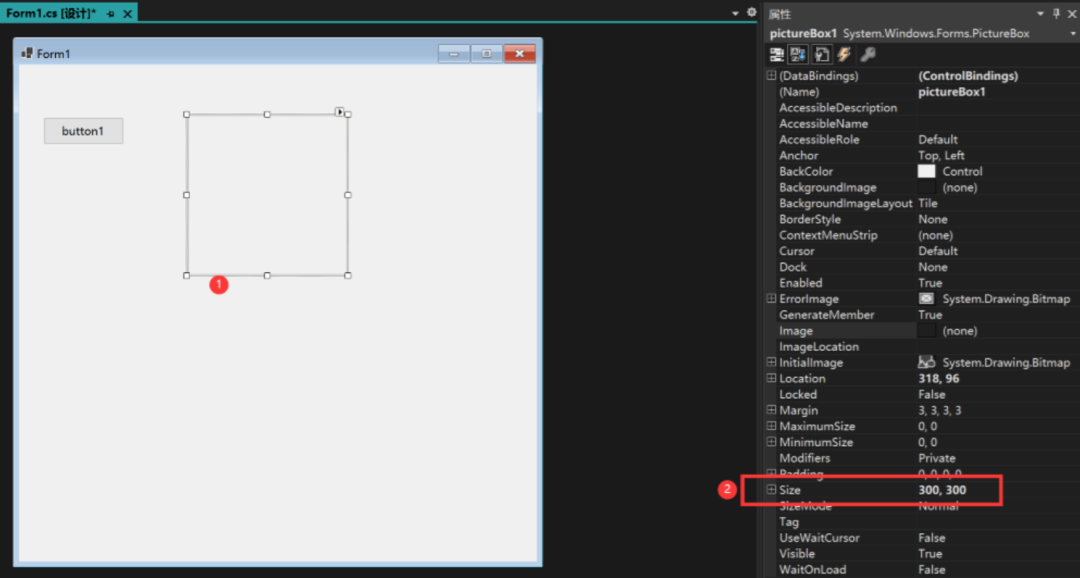
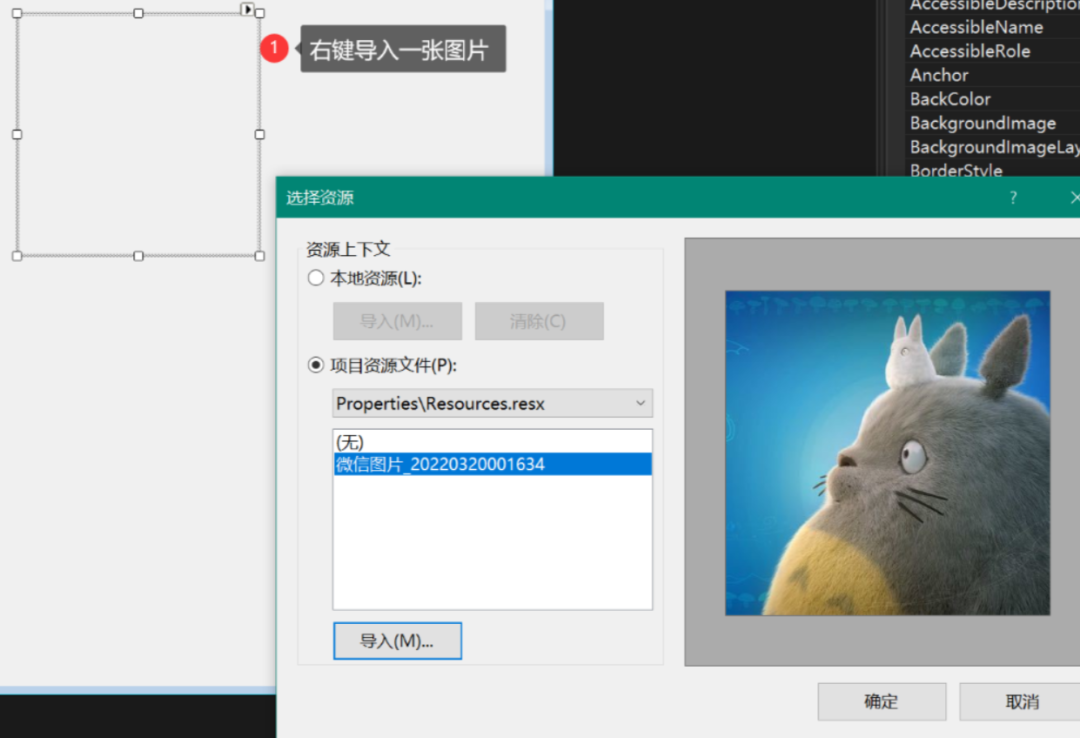
5、添加一个图片框 , 尺寸定为 300 x 300 , 右键导入一张图片
6、添加测试代码
namespace WinFormsApp1
{
    public partial class Form1 : Form
    {
        public Form1()
        {
            InitializeComponent();
        }

        private void Form1_Load(object sender, EventArgs e)
        {
            Text = this.Width + "x" + this.Height + " pic "+ pictureBox1.Width + "x" + pictureBox1.Height + 启动环境();

        }

        public static string 启动环境()
        {
#if NET461
            return (".NET Framework 4.6.1");
#elif NET6_0
            return (".NET6");
#endif
        }

    }
}
7、运行看看效果: .NET 6 下运行,尺寸都是对的

正式开始
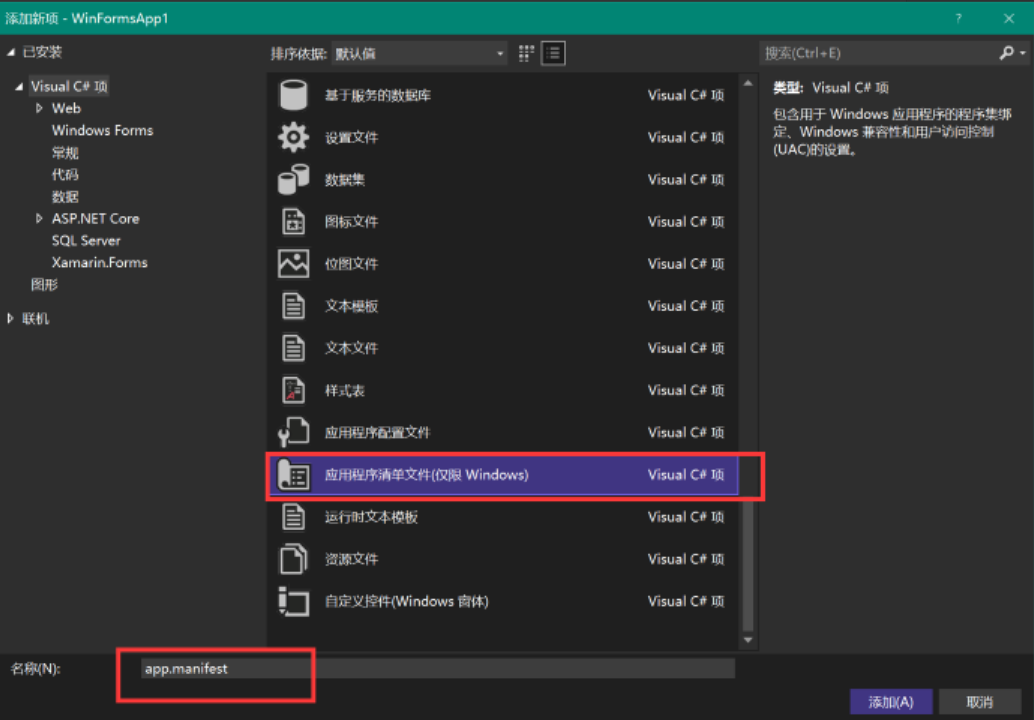
1、右键工程,添加应用程序清单 app.manifest, 文件名用默认,修改
取消这段的注释,打开感知 DPI
 <application xmlns="urn:schemas-microsoft-com:asm.v3">
  <windowsSettings>
   <dpiAware xmlns="http://schemas.microsoft.com/SMI/2005/WindowsSettings">true</dpiAware>
   <longPathAware xmlns="http://schemas.microsoft.com/SMI/2016/WindowsSettings">true</longPathAware>
  </windowsSettings>
 </application>
2、双击工程名称, 编辑配置文件,
TargetFrameworks 改为双目标框架 <TargetFrameworks>net6.0-windows;net461;</TargetFrameworks> , 保存后提示重载工程 , 最好是关闭vs再打开一次.
完整文件如下
<Project Sdk="Microsoft.NET.Sdk">

 <PropertyGroup>
  <OutputType>WinExe</OutputType>
  <TargetFrameworks>net6.0-windows;net461;</TargetFrameworks>
  <UseWindowsForms>true</UseWindowsForms>
  <ApplicationManifest>app.manifest</ApplicationManifest>
  <ApplicationVisualStyles>true</ApplicationVisualStyles>
  <ApplicationUseCompatibleTextRendering>false</ApplicationUseCompatibleTextRendering>
  <ApplicationHighDpiMode>SystemAware</ApplicationHighDpiMode>
 </PropertyGroup>

 <ItemGroup>
  <Compile Update="Properties\Resources.Designer.cs">
   <DesignTime>True</DesignTime>
   <AutoGen>True</AutoGen>
   <DependentUpon>Resources.resx</DependentUpon>
  </Compile>
 </ItemGroup>

 <ItemGroup>
  <EmbeddedResource Update="Properties\Resources.resx">
   <Generator>ResXFileCodeGenerator</Generator>
   <LastGenOutput>Resources.Designer.cs</LastGenOutput>
  </EmbeddedResource>
 </ItemGroup>
</Project>
3、如果提示找不到控件, 在 Form1.Designer.cs 和 Form1.cs 添加
using System;
using System.Windows.Forms;
4、Program.cs注释掉 ApplicationConfiguration.Initialize();
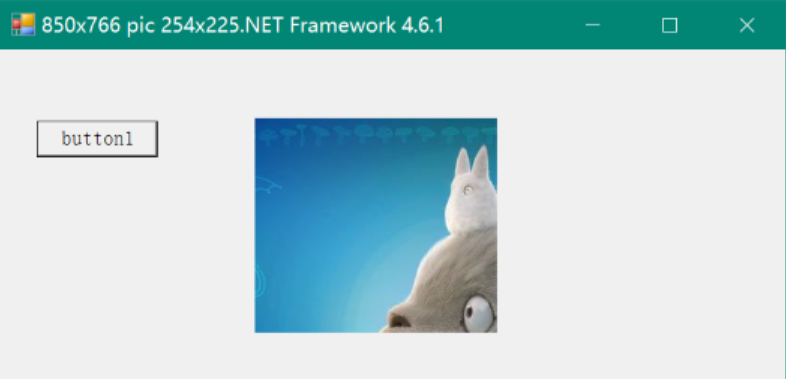
5、运行选择 net461
备注:我的屏幕是 2800 x 1800 ,缩放 175%

果然, 显示尺寸不对
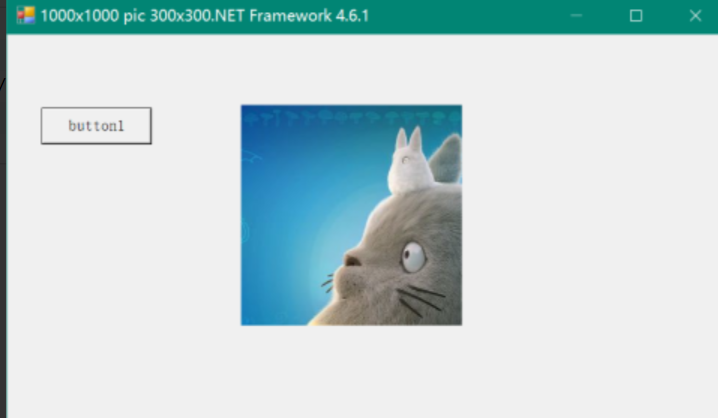
6、Form1.cs 添加 'AutoScaleMode = AutoScaleMode.Dpi;'
public Form1()
{
    AutoScaleMode = AutoScaleMode.Dpi; //添加这句,要在'InitializeComponent();'上方
    InitializeComponent();
}
再次运行
7、双击编辑窗体,没有提示100%缩放, 添加标准菜单和DataGridView测试
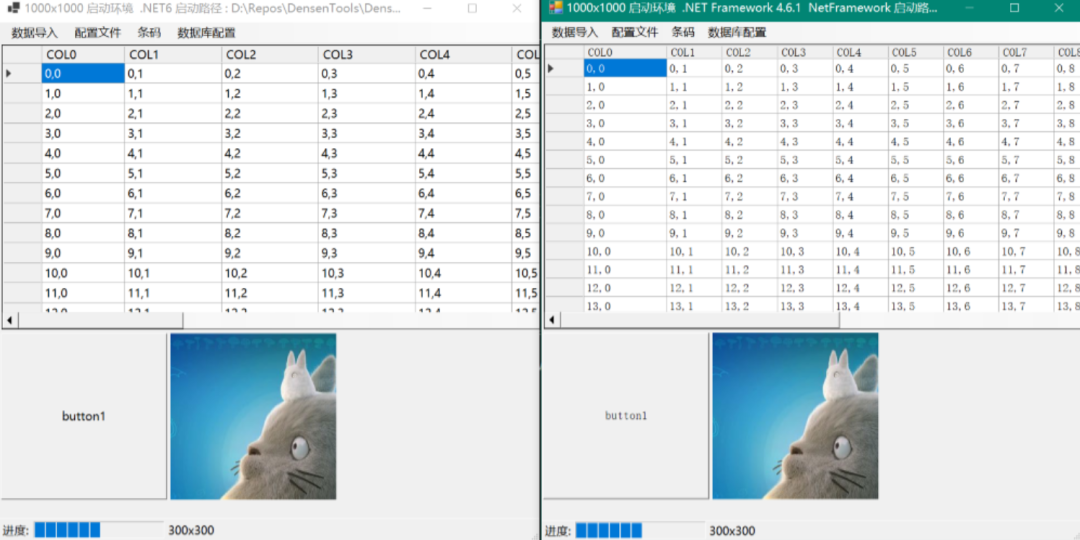
完美!双倍的快乐!
总结
- 新建.Net Windows窗体应用 (Winform)工程 [.Net6.0]
- 添加应用程序清单
app.manifest, 打开感知 DPI TargetFrameworks 改为双目标框架 <TargetFrameworks>net6.0-windows;net461;</TargetFrameworks>Program.cs注释掉 ApplicationConfiguration.Initialize();AutoScaleMode = AutoScaleMode.Dpi; //添加这句,要在'InitializeComponent();'上方
老工程也可以通过编辑projet文件升级到这种新工程格式,支持本文说的功能
配套DEMO
https://github.com/densen2014/WinformHighDPICompatibleProgram
https://gitee.com/alexchow/WinformHighDPICompatibleProgram
转自:AlexChow
链接:cnblogs.com/densen2014/p/16142939.html
该文章在 2024/3/9 15:36:12 编辑过


 400 186 1886

