如何创建Winform Blazor应用
|
admin 2024年2月7日 23:29
本文热度 2113
|
如果有接触过Blazor的,基本也都了解过一些前端组件,如:MASA、AntDesign等,同样也都配备了Winform或者WPF等桌面应用的集成模板。但是如果不想使用第三方,自己如何手动创建一个干净纯粹的项目呢?
开发环境:.NET 6
开发工具:Visual Studio 2022
- 使用NuGet 包管理器安装 Microsoft.AspNetCore.Components.WebView.WindowsForms NuGet 包,这里由于我们使用的使用的.NET6版本,所以选择6开头的版本的包
<Project Sdk="Microsoft.NET.Sdk">改为<Project Sdk="Microsoft.NET.Sdk.Razor">
- 添加_Imports.razor文件,内容如下,其他一些公共的经常使用的引用或者注入也都放到此页面,就不用在其他页面分别引用了
@using Microsoft.AspNetCore.Components.Web
- 创建
wwwroot文件夹,并在文件夹内创建index.html文件,其他静态文件/文件夹也需要放在此目录下,内容如下
<!DOCTYPE html><html lang="en"><head>    <meta charset="utf-8" />    <meta name="viewport" content="width=device-width, initial-scale=1.0" />    <title>WinFormsBlazor</title>    <base href="/" />    <link href="css/app.css" rel="stylesheet" />    <link href="WinFormsBlazor.styles.css" rel="stylesheet" /></head>
<body>
    <div id="app">Loading...</div>
    <div id="blazor-error-ui" data-nosnippet>        An unhandled error has occurred.        <a href="" class="reload">Reload</a>        <a class="dismiss">🗙</a>    </div>
    <script src="_framework/blazor.webview.js"></script></body></html>
- 创建css文件夹,添加app.css以及其他需要的样式表,默认样式可按照以下内容
html, body {    font-family: 'Helvetica Neue', Helvetica, Arial, sans-serif;}
h1:focus {    outline: none;}
a, .btn-link {    color: #0071c1;}
.btn-primary {    color: #fff;    background-color: #1b6ec2;    border-color: #1861ac;}
.valid.modified:not([type=checkbox]) {    outline: 1px solid #26b050;}
.invalid {    outline: 1px solid red;}
.validation-message {    color: red;}
#blazor-error-ui {    background: lightyellow;    bottom: 0;    box-shadow: 0 -1px 2px rgba(0, 0, 0, 0.2);    display: none;    left: 0;    padding: 0.6rem 1.25rem 0.7rem 1.25rem;    position: fixed;    width: 100%;    z-index: 1000;}
    #blazor-error-ui .dismiss {        cursor: pointer;        position: absolute;        right: 0.75rem;        top: 0.5rem;    }
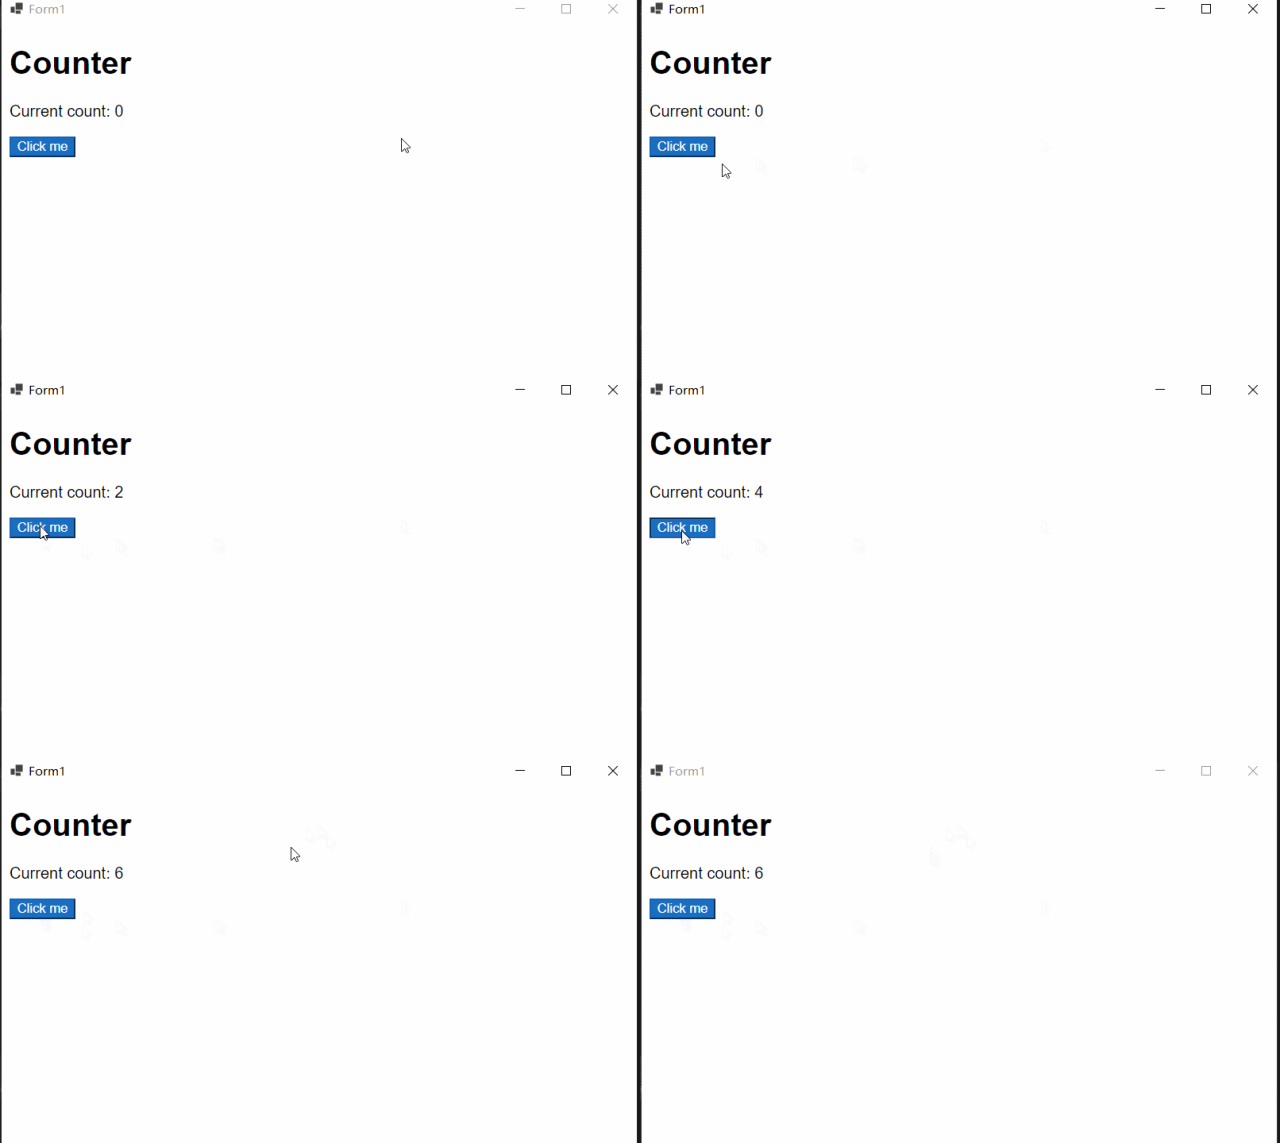
- 创建一个Razor组件,Counter.Razor,内容如下。
<h1>Counter</h1>
<p>Current count: @currentCount</p>
<button class="btn btn-primary" @onclick="IncrementCount">Click me</button>
@code {    private int currentCount = 0;
    private void IncrementCount()    {        currentCount++;    }}
- 打开Winform窗体设计页面,在工具箱中找到BlazorWebView控件并拖入到窗体(注意这里不是WebView2控件,请勿选错 ),并设置Dock属性为Fill
using Microsoft.AspNetCore.Components.WebView.WindowsForms;using Microsoft.Extensions.DependencyInjection;
- 在构造函数中的 InitializeComponent 方法调用后面,添加以下代码
var services = new ServiceCollection();services.AddWindowsFormsBlazorWebView();blazorWebView1.HostPage = "wwwroot\\index.html";blazorWebView1.Services = services.BuildServiceProvider();blazorWebView1.RootComponents.Add<Counter>("#app");
- 以上只是一个比较简单的结构,实际上整个项目的文件结构,可以直接参考Blazor项目的结构,如使用
Shared、Pages等

该文章在 2024/2/7 23:29:29 编辑过


